How to Use a Fence Stain Calculator
Effortlessly determine how much stain you need with a fence stain calculator. Avoid wastage, ensure accuracy, and achieve a flawless fence staining project.
FENCE STAINING NEAR ME
5/18/20266 min read
My post contentHow to Use a Fence Stain Calculator
There is no worse feeling than watching the last drop of stain leave the can on a Sunday afternoon with twenty feet of bare wood remaining. Asking yourself, "how much stain do i need for my fence," and guesstimating usually leads to frustration. You either risk ruining your project consistency with a mismatched second batch, or you overspend on expensive fifty-dollar gallons that sit in your garage forever.
According to standard painting guidelines, basic flat-wall math consistently fails homeowners. Manual calculations fall short because they ignore the hidden edges of pickets, overlapping shadowbox boards, and the crucial material waste factor from inevitable drips. Running the numbers through a reliable fence staining cost calculator protects your wallet from these hidden expenses while preventing unexpected mid-project store runs.
Eliminating guesswork entirely means you can comfortably finish the job in a single effort. A dedicated fence stain calculator walks you through an easy five-step process to secure the exact gallon count: mapping the footprint, measuring the height, adjusting for style, factoring in wood porosity, and adding a smart safety net.
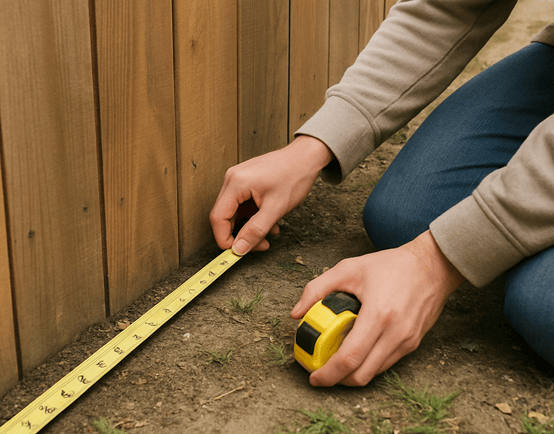
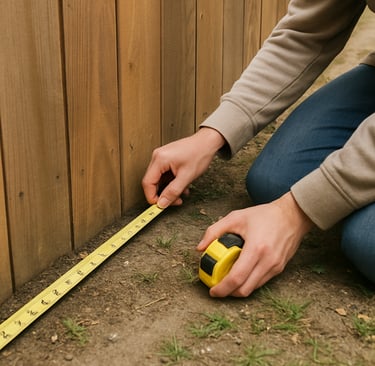
Step 1: Measuring Your 'Footprint' to Calculate Linear Footage Without a Surveyor's Map
Guessing your yard's size at the hardware store is a quick way to overspend. Before relying on a fence stain estimator, we must find your "linear footage," which is simply the total length along the ground.
Grab a tape measure and walk your yard's perimeter. Run the tape along the bottom, measuring straight across gates because you will stain those too. If your structural posts are visible, include their width in your running measurement so you have enough material to cover every wooden piece.
This bottom number is just your footprint. Doing a linear feet to square feet conversion for fencing means stretching that flat ground line upward. You aren't just staining a line in the dirt; you are measuring vertical pickets and horizontal rails that stand tall above the grass.
Now that you have the total length written down, you are ready to find the actual surface area. This simple footprint provides the foundation for calculating your total square footage.
Step 2: The 'Wallpaper' Method for Calculating Total Square Footage
Imagine your fence is a giant wall in your living room and you need to buy wallpaper. To find the total square footage of wood fence panels, you simply multiply your ground length from Step 1 by the height of the boards. This gives you the basic "face" area. Just keep in mind that this step only calculates the flat vertical boards facing you, not the structural support posts or horizontal rails.
When DIYers try to figure out how many gallons of stain for a 6 foot privacy fence they need, this simple math is the benchmark hardware stores use. If you have 100 linear feet of a standard 6-foot tall fence, you multiply those numbers to get 600 square feet per side. To find your base area quickly, use this easy multiplier guide:
● 4-foot fence: Multiply your linear length by 4
● 6-foot fence: Multiply your linear length by 6
● 8-foot fence: Multiply your linear length by 8
Your calculation so far assumes you are staining a perfectly flat, solid surface. However, backyards rarely feature perfectly flat wooden walls, and hidden board edges will drink up materials fast, requiring a style adjustment.
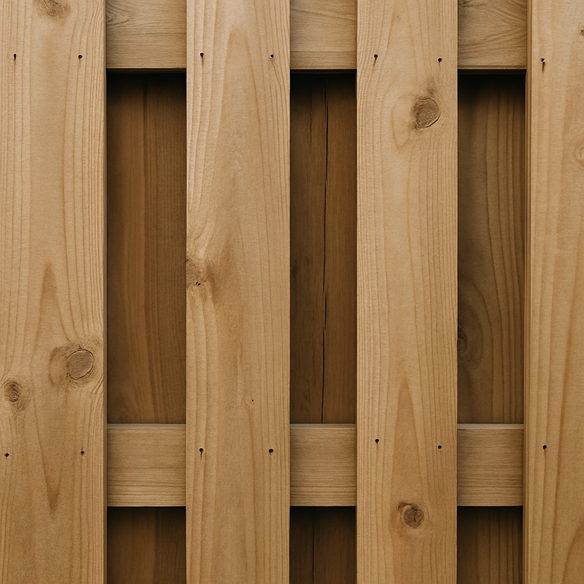
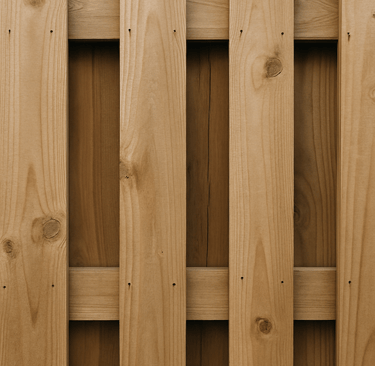
Step 3: The Style Multiplier: Why Shadowbox and Picket Fences Require 50% More Stain
Running out of material because you forgot about the edges is a classic DIY trap. The flat "wallpaper" number you just found only works for completely seamless walls. In reality, accounting for gaps and calculating double-sided fence staining surface area is crucial to avoid a frustrating Sunday afternoon trip back to the hardware store.
Every single board on a standard picket fence actually has four sides. Those narrow, hidden vertical edges seem insignificant, but multiplied across hundreds of pickets, they create massive "invisible" square footage. To handle this extra depth, a reliable fence paint estimator typically recommends multiplying your flat area by 1.15 to ensure you have enough product for those sneaky side profiles.
Shadowbox designs demand even more aggressive math because of their complex, overlapping construction. When calculating waste factor for shadowbox fencing, you are essentially coating one and a half fences due to the alternating board layout. Simply multiply your base square footage by 1.5 to guarantee you can comfortably reach every interior crevice.
Nailing this style multiplier ensures you have accounted for every physical inch of the structure. Knowing the dimensions is only half the battle; the wood itself dictates how far a gallon stretches.
Step 4: Measuring Wood 'Thirst': How Age and Porosity Impact Your Spread Rate
Knowing the total surface area isn't enough because your fence acts like a giant sponge. Wood age changes its "porosity," or how thirsty the boards are. New wood is like a damp sponge that won't absorb much, while older, gray wood is bone-dry and will drink stain instantly. This thirst dictates the average square foot coverage per gallon of sealer, meaning a weathered fence always needs more cans than a newly installed one.
A quick water drop test takes just seconds and reveals exactly what to expect. Splash water onto a few boards and watch closely. If it beads up, your wood is still somewhat sealed. If the water vanishes immediately, you now know how to determine coat requirements for aged wood: you must plan for a significantly heavier application to reach full saturation.
Your test results tell you exactly which multiplier to use at the hardware store. For older fences that absorb liquid instantly, add 20% more product to handle these high wood surface porosity absorption rates. Once you compensate for this thirst, the final puzzle piece involves the thickness of the liquid itself.
Step 5: Solid vs. Semi-Transparent: How Your Finish Choice Changes the Math
Knowing how thirsty your wood is won't entirely finalize your shopping list. The liquid itself plays a massive role in figuring out how many gallons of stain for fence projects you actually need. Think of pigment density like syrup versus tea: solid stain goes on thick to completely mask the wood, while semi-transparent stain is thinner, letting the natural grain show through so it naturally stretches further across your boards.
Factoring in these solid vs semi-transparent stain coverage differences will drastically alter your budget based on the backyard look you want. Here are the standard rules of thumb:
● Solid Stains: 150–250 sq. ft. per gallon (Thicker liquid, covers less area).
● Semi-Transparent Stains: 250–350 sq. ft. per gallon (Thinner liquid, stretches further).
Base formulas also dictate how easily the product spreads. When evaluating oil-based vs water-based exterior wood finishes, oil penetrates deeply into the grain, whereas water-based options sit slightly closer to the surface, changing how far your brush effortlessly glides. Once your formula is picked and your base numbers are calculated, adding a waste factor protects your project from running dry.
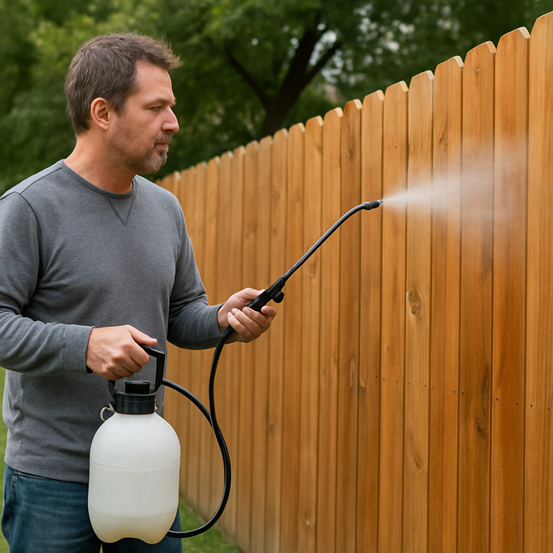
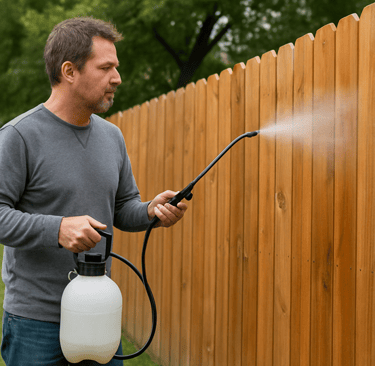
The Final Gallon Count: Adding the 10% Waste Factor for Sprayers and Spills
Running dry right before the finish line is a common but preventable frustration. Your tool choice alters how much liquid actually reaches the boards, especially regarding paint sprayer vs manual brush application speed. Sprayers save enormous amounts of time, but that mist drifting away—known as overspray—means good product simply vanishes into the breeze.
Adding a 10% safety buffer protects the overall cost of materials for staining a backyard fence from unexpected surprises. This cushion accounts for accidental bucket spills, highly porous wood knots, and ensures you have leftover liquid for next year's touch-ups.
Rushing to the store mid-project introduces a terrible risk: batches mixed on different days rarely color-match perfectly. When you properly estimate fence stain coverage and buy that 10% extra upfront, you guarantee a uniform shade.
Your 5-Minute Pre-Project Checklist for a Flawless Finish
Instead of guessing in the paint aisle, you can now accurately estimate fence stain coverage based on your yard's actual footprint and wood condition. By trusting a fence stain calculator, you have successfully eliminated the dread of running dry mid-project and the costly mistake of overbuying materials.
Before heading out, prepare your supplies and remember how weather conditions impact stain penetration. Set yourself up for a proper application by using this final checklist:
● Total calculated gallons of stain (plus your 10% safety net)
● Brushes for rough edges
● Drop cloths to protect landscaping
● A verified 48-hour dry weather window check
With the math settled and supplies gathered, you can tackle the actual staining process smoothly. Trust your calculations, prep your workspace, and enjoy the satisfaction of a beautifully protected fence.